Getting Your Heat Profiles Right for Glass Bending
Most heating elements just pump out the same amount of heat from one end to the other. But if you’ve spent any time bending glass, you know that “uniform” is usually a problem. Between edge loss, thickness changes, and the specific curves you’re chasing, different parts of the glass need different things. One size definitely doesn’t fit all here.
The Trick to Power Density
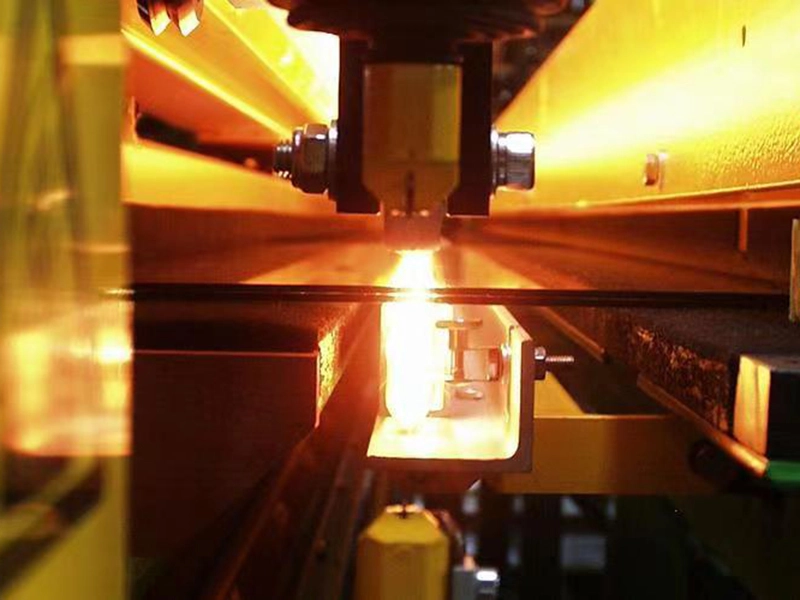
We don’t just tweak the length or the wattage and call it a day. We look at the power density—basically, how many watts are hitting every millimeter of the heater. By playing with the filament winding or using segmented circuits, we can build “hot zones” and “cool zones” right into a single lamp. It gives you a way to actually control the viscosity of the glass while you’re working. If your edges are sagging but the center isn’t even close to the softening point, cranking up the voltage won’t help. You need a custom map of where the heat actually goes.
Room to Experiment
When you’re messing around with new materials, off-the-shelf parts usually get in the way. That’s why we give you a bit of breathing room with your parameters. We can shift the wattage and voltage to match the power supply you already have, while putting the heat exactly where the material needs it. You just tell us the temperature profile you’re aiming for, and we’ll handle the wattage mapping.
The Catch with High-Density Heat
Here’s the thing: pushing a ton of wattage into a tiny space puts a lot of stress on the quartz envelope. If you go too extreme with the power density in one spot, that section is going to burn out way faster than the rest of the tube. It’s a balancing act. You have to watch your cycle times and keep an eye on your cooling airflow so you don’t fry the lamp. We’ll work with you to find that sweet spot—where you get the heat you need without killing your gear.